I decided some time ago that I would rescan my negatives already scanned with the Epson Perfection 3170 Photo scanner because I realized that batch scan in the Epson 3170 simply cuts off the edges of all pictures. I was thinking of my great art that inhabits the entire picture space and how it was brutally distorted by this machine and I made the decision to rescan everything.
Besides, I have recently bought an Epson Perfection V700 Photo scanner because I had the impression that my earlier Epson Perfection 3170 Photo scanner started to perform badly.
(It was pixelating photo scans,
see my earlier blogpost about that.)
Now that I have been using Epson V700 for a while, I have really come to rescan some photos. I have given up the thing about the edges (in Epson V700 the plastic holder is such that it even covers the edges so finally why bother...). Rescanning these pictures was really the
acte gratuit, the meaningless action, so probably I wanted to find some meaning, and this meaning I found in sharing.
Here we go, lo, a comparison of the very same slide scanned with both scanners.
Each scan is provided AS IS in 3200 dpi resolution over at my Picasa account, just click on the thumbnails and enjoy the view. But also beware, as they are above 60MB each.
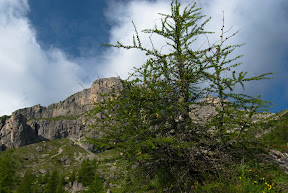
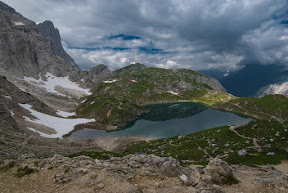
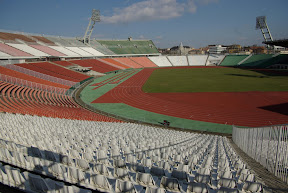
These are 100 ISO
Fuji slides taken with a
Canon Eos 300 and scanned with 3200 dpi:
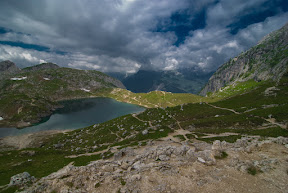
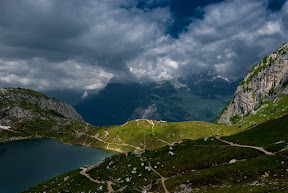
Epson 3170, 24-bit colour

Epson V700, 48-bit colour

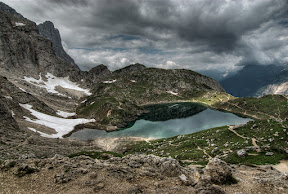
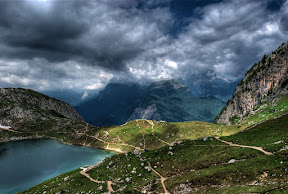
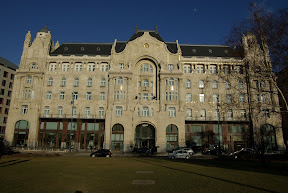
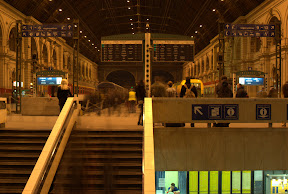
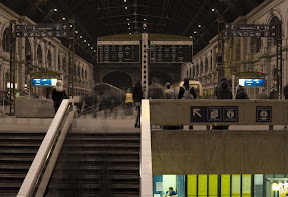
Epson 3170, 24-bit colour

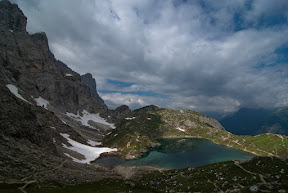
Epson V700, 48-bit colour

Any difference? Images of V700 are more vivid. The Epson 3170 is said to have something like a white veil on all pictures.
Post to del.icio.us